Design Technology
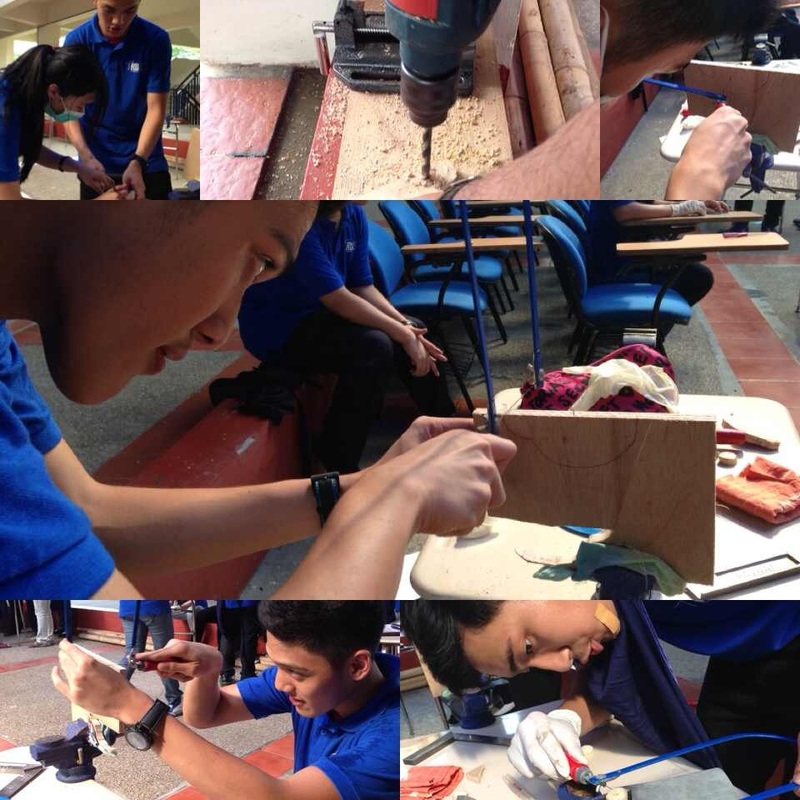
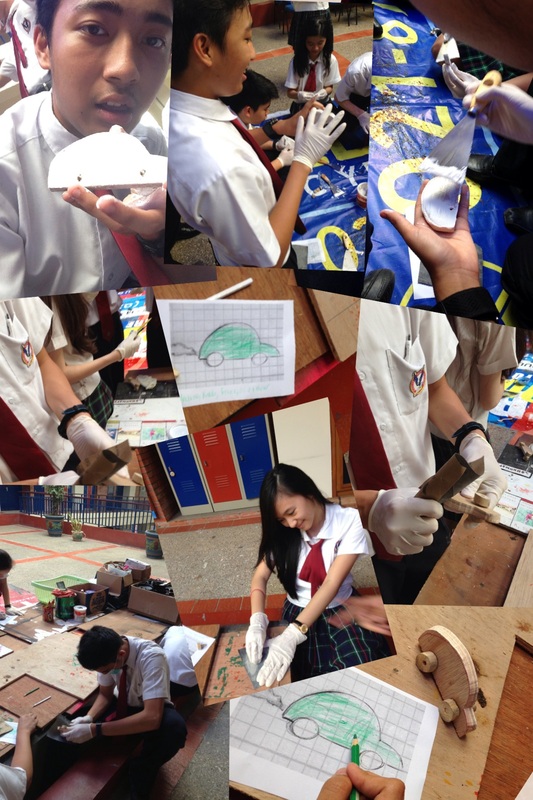
In quarter 1 dt and ct students combined together and we share thoughts of working with woods and creating game with presentations. This will help us to know some information before making game or wood in quarter 2. It is also important to learn basics first before creating the toy or game we prefer in quarter 2. In DT section we create a wooden car, in CT section we create a simple game for preschooler with gamemaker, and both activity uses procedure. Since I'm in DT class my sample work would be creating wooden car. We work with woods to make toys for kids. In this case we make a car out of wood, where we should work with cutting the woods with the tools provided. Below are one of the activity and process we did (making car) in quarter 1.
Procedure
1. Copy the car drawing template to the wood
2. Cut the wood according to the template
3. Measure 0.5cm from the bottom and 3cm from the sides. Mark the points. Make sure it is accurate
4. Measure 1 cm thickness of round wood
5. Cut it the round wood (wheels) with 1 cm thickness. repeat 4x
6. Make a whole by drilling the center of the wheels. Make a whole for the points marked at the body (0.5cm from the bottom and 3cm from the sides
7. Cut 3cm from the chopstick. repeat 2x
8. Apply sanding to the plywood and the round wood.
9. Attach the two chopsticks to the two holes in the car shaped wood.
10. Attach 2 wheels to each chopstick.
11. Test the car on a smooth surface. Make sure it moves easily with the 4 rounded wheels.
12. Select the color to use for the car and apply on the template to apply it
13. Use the sand paper to smoothen the surface and wheels (sanding)
14. Apply the foundation or coating into the surface including the wheels
15. Wait 10-15 minutes for the foundation/coating to dry
16. Smoothen the surface and wheels again before painting since the dried foundation/coating make the surface rough again
17. Start painting the desired design from the template
18. Wait for the paint to dry
19. Attached back the wheels to the car
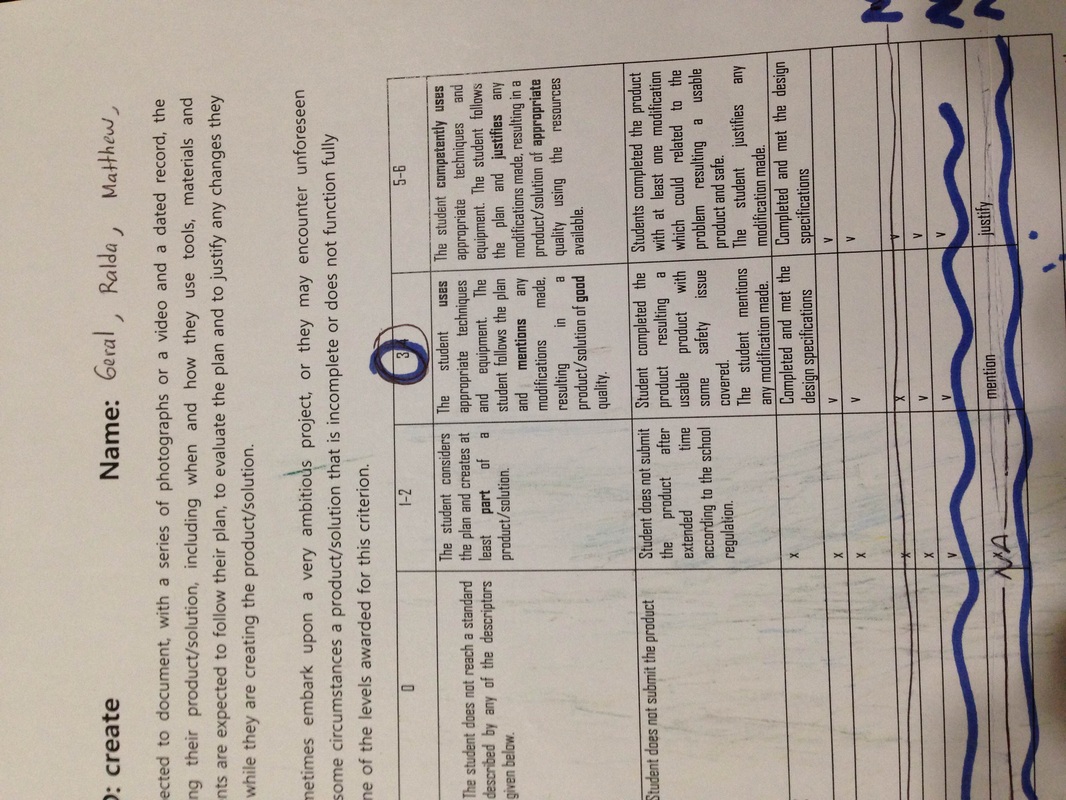
Evaluation
1. The brushes provided its not the preferred size. Some are too big or small.
2. The foundation or coating should be not too thick or thin. We should maintain its thickness and it should be neatly done with the scrape
3. Be careful when painting the car. To overlay the color(s) we should wait until it dries than put another color(s) preferred. Not waiting it to dry caused the color to be messy
Reflection
I personally think working in DT is easier than CT. In CT we should work with a lot of tools and we remember the functions, while DT the skills we need would be wood crafting with strength and precision I really think I'm capable of doing that. Based on my personal project experience since I use a software also I should remember so many tools and their functions, so I don't want to face it again in technology class so it would be better to pick something different also. However my final product of the wooden car didn't get a good score, well it's because the car can't move at all since the texture of the wheel it's not smooth and measurement its not precise. To improve I should increase my skills in precision to have accurate measurement ending up with a good result
Intercultural Awareness
This project related to intercultural awareness since most of wood working product are made by Indonesian people. So I think learning wood craft could also meaning that increase our respect and knowledge. We respect Indonesia for more their fine wood product and we try to do something similar as an Indonesian. Some of my friends that are not originally from Indonesia would try to do the same thing that means they respect Indonesia culture too. This also gain our knowledge since we share information about wood and games, and in some of the example toys for preschoolers there are Indonesian traditional toy, it means that traditional toys from Indonesia had affect a lot of preschoolers to develop their education.
