Process journal 3
So I decided to choose my second design (simple modern), it actually fits more to the design specification. In my first design office rooms and private offices are too small, it didn't focus on making it bigger or more space, but it focus more to the design. The design looks great from the outside and it is a unique design yet it doesn't give improvement on space and comfort. What matters on my design that my design would serve its function and comfort towards the client, not the look and/or uniqueness. However, it would be great if it's look great from both outside and inside the building. But I think the second design could also looks great from the outside, just like my inspiration posted from my summer report it looks attractive also which is mostly cause of the windows that are all over the building. So I'm going to do the same thing, inserting windows to all outside walls, and that also useful since one of the design specification is to have artificial lights instead of indoor lights. More windows provide more sunlight.
2D Creating phase (autocad)
There are a lot of fundamentals on using autoCAD 2014, and it is also the requirement of every building, such as column, doors, walls, and more that are should drawn correctly in autocad.
I started with creating the wall, it consist of two different layer (light blue and pink). The first layer I make is the pink layer which is called the layer as. It is just a support for the exact wall to have the same and exact measurement. By using offset tool from autocad it simply duplicate lines with the same measurement. In making the wall I can simply type the measurement I've decided in the draft in millimeters. For the division of the room I use the tool trim from autocad which simply delete lines that are not needed.
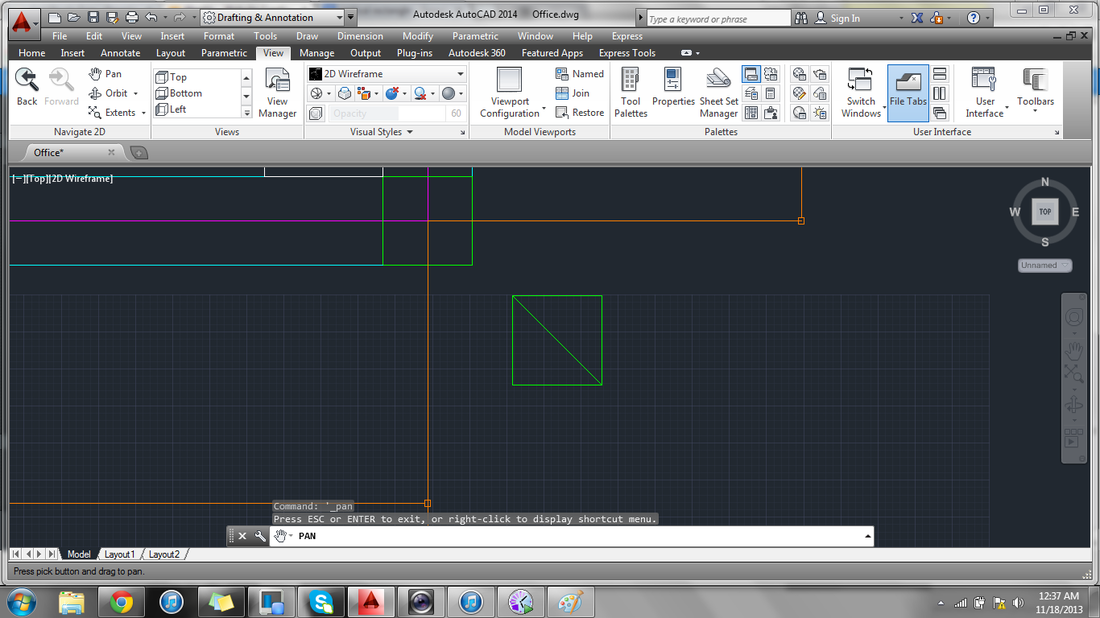
The second step would be making column. Column should be inserted in every corner of the building. Column is in a form of square by inserting it to a corner of wall with different color (green) it is visible. So after making the walls, I create a square (150mm x 150mm) then create a diagonal line in the middle of the square, the line is for support to insert it to the corner of wall precisely and accurately. After the column is inserted in the corner of a wall delete the middle diagonal line so it looks neat. Then I simply copy the finished column to other walls.
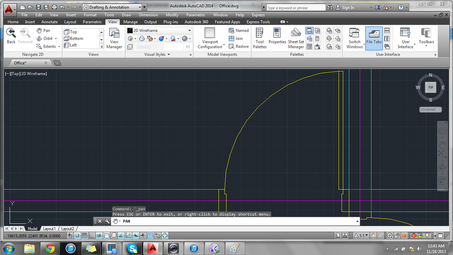
The third step is making the door. There are specific measurements for all straight lines in creating the door (yellow). I got the measurement of doors from my course teacher. The curve line on the door its a cut circle, the original one was a full circle, I delete it with the tool trim. The curve line represent the motion and movement of door whether it pushes or pull. It also calculates the angle of the door movement so I can make sure not to insert object on the curve line. In inserting the door the wall should be deleted but let don't delete the layer as
